Campsite Set Up
Before you leave home - Before you go camping, consider setting your tent up at home. This is a good time to seal the seams of your tent, check for rips, and ensure all parts are present.
Familiarize yourself with Ontario Parks rules and regulations before arriving at your campsite.
When you arrive: It’s a good idea to set up your campsite as soon as you arrive. This small investment of time will help ensure you have a comfortable stay and lots of time for fun!
How to set up a Tent: Follow these steps when setting up your tent. Not all tents are the same, but the process is similar in all cases:
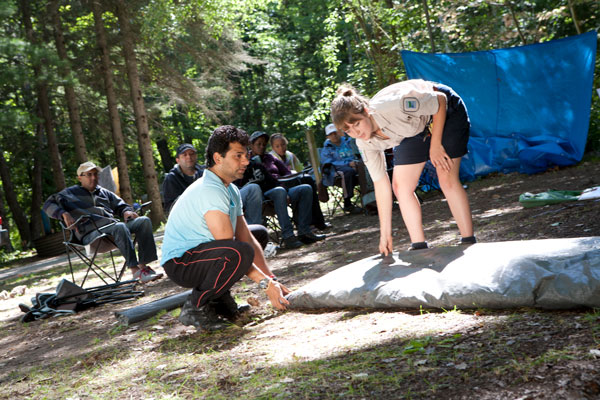
1. Choose a spot
Choose a flat area that’s relatively high ground to avoid rain from building up underneath the tent. Make sure it’s away from the fire pit to avoid sparks landing on your tent. Choose an area that is free of roots, rocks and branches. You’ll have a better night’s sleep if your spot is level and free of sticks and stones. Leave space for tent lines to be pulled tight, which will keep the rainfly from coming in contact with the tent roof and leaking.
Optional - Put down a groundsheet. A groundsheet helps protect your tent and keep you dry. Ensure the tarp does not extend past the edges of your tent bottom as that will cause water to collect and pool up underneath the tent.
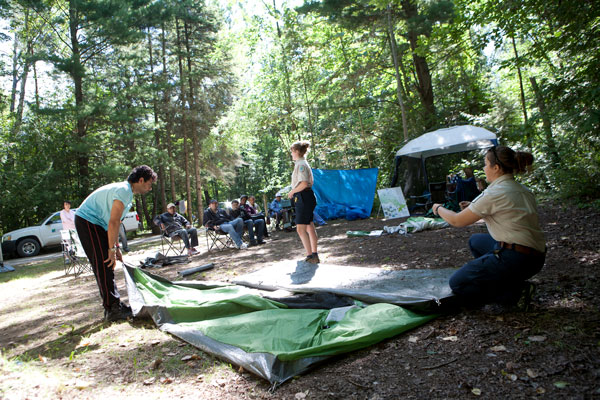
2. Roll out your tent
Consider where you want your door and be sure to leave space for other camping equipment, such as a dining shelter.
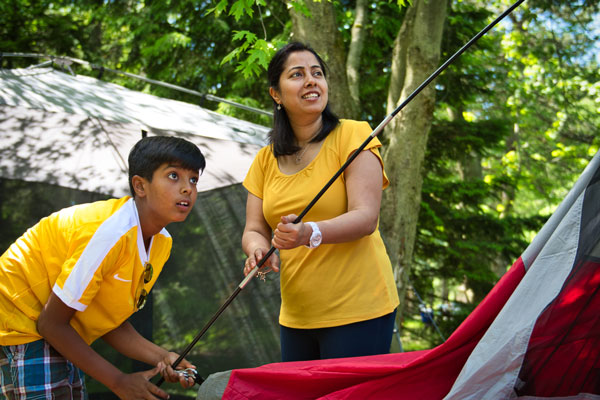
3. Connect your poles
Depending on your tent design, poles slide into sleeves or fasten to clips. If your tent has both sleeves and clips, start with the sleeves. Slide or clip on the two poles that cross at (or near) the top of your tent. If your tent has more than two poles, slide or clip them all in before you begin the next step. It is important to follow the manufacturer’s directions that comes with your tent. Every tent is similar but different, so it’s important to use them.
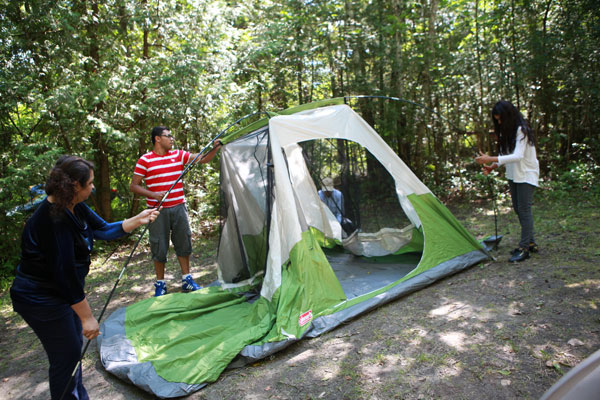
4. Raise your tent
Start with the two poles that cross at the top. Secure the end of one pole into the special grommet, fabric pocket, or loop at the base of your tent, often at the corner. Bend the flexible pole into an arc and secure the other end. It’s sometimes easier to do this with a partner!
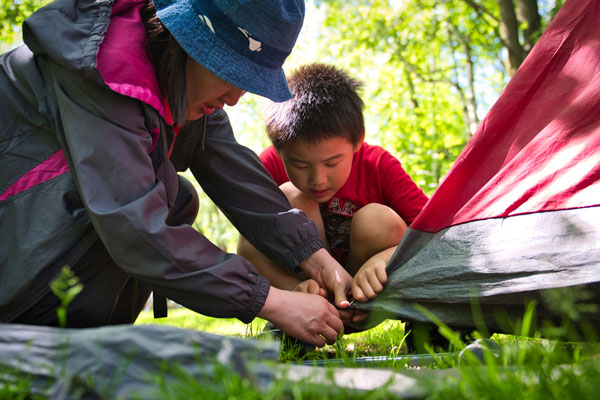
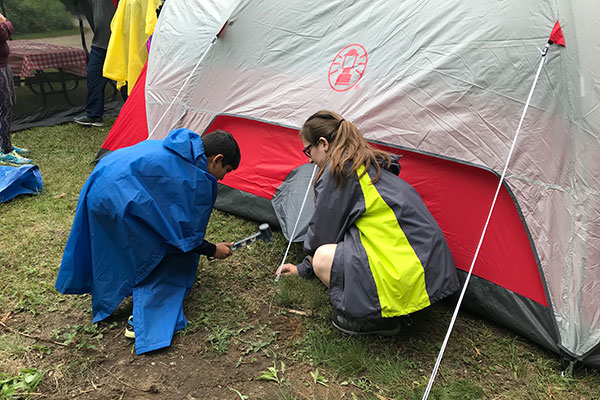
5. Peg the tent to the ground
Most tents have nylon straps with loops or grommets through which you can place a tent peg. Pull the strap away from the tent so the floor is taut. Push the peg into the ground at a 45-degree angle to keep it secure.
6. Put a fly over the tent
Toss the fly over the tent, keeping your tent door’s location in mind. Depending on the design of your tent, you may need extra pegs, poles or guy lines.
Shelters
How to set up your Shelter: The shelter can be placed over the tent for extra protection or over the picnic table to create a dry / shady place to spend time. Avoid placing your shelter close to the fire pit.
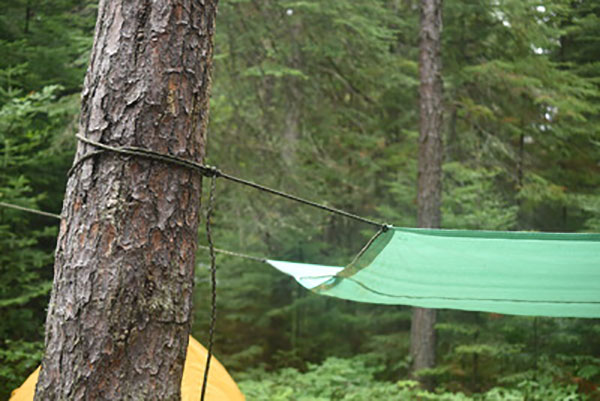
Tarp Shelter
A tarp can be hung over your tent or over your picnic table to provide protection from the rain or the sun. You will need a tarp with grommets, some rope and a few large trees. Tie your tarp as tight as possible to avoid flapping in the wind and always set up a sloped roof to allow water to run off. Don’t hammer nails into the trees, as it can harm them.
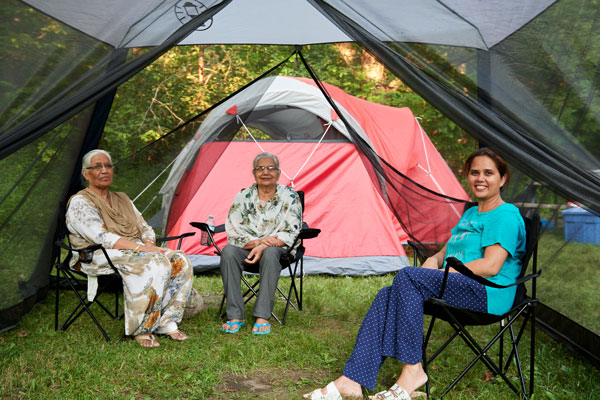
Screen House
An instant screen house offers protection from the sun and light rain. It can simply be installed over your picnic table or as an extra area to provide you shade. Some also come with a NO-SEE-UM MESH to keep tiny insects out.
Follow the manufacturer’s instructions for directions on how to set up you instant screen house.
Ambassador suggestion: If rain is in the forecast, you may consider cooking under your shelter if it is well ventilated. It’s important to check the manufacturers instructions to ensure there are no warnings. Never cook inside your tent, as this is a strong fire and carbon monoxide poisoning hazard. The lingering cooking smells inside your tent could also attract wildlife in the night.
Camp Kitchen
How to set up your Camp Kitchen - Follow these steps when setting up your camp kitchen:
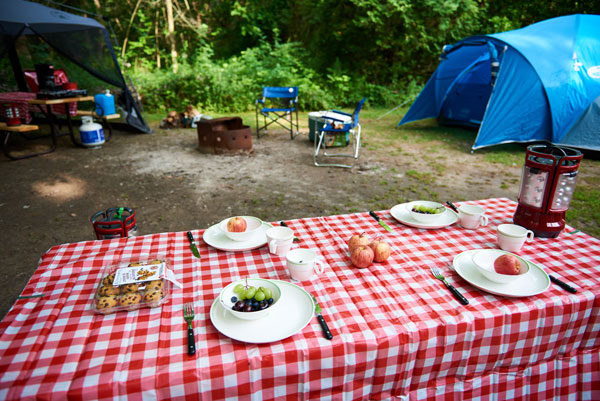
Table
Nearly all campsites at Ontario Parks come with a picnic table. Use your table for food preparation, and dining. Consider adding a tablecloth to your table.
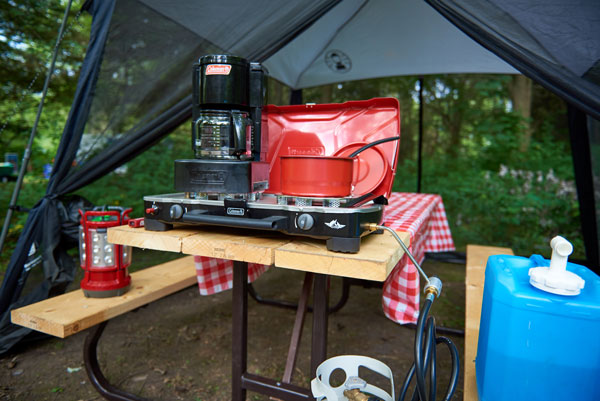
Camp Stove
Set your stove up on the end of the picnic table away from any flammable materials (e.g., tablecloths). Make sure the table is level.
Kitchen Gear
Consider storing your kitchen gear in a large plastic bin. You can keep this under the table along with your cooler. Make sure your cooler or any type of wildlife attractants are stored in your vehicle with its windows closed where they can’t be seen or smelled.

Garbage
Set up a garbage bag that is out of reach of wildlife. You can tie the bag to a tree or keep it in your car. Do not burn your garbage. Always bag it and dispose of it daily in designated waste/recycling bins to avoid issues with wildlife.
Learn more about disposing of trash in Provincial Parks here!
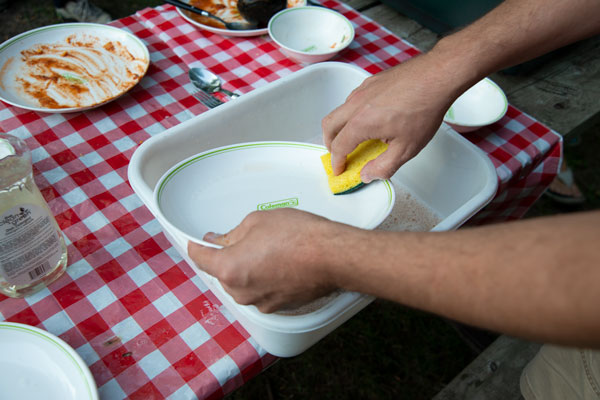
Washing Dishes
Set up a wash basin at your site for dishes. Tie a rope to two trees to create a clothesline for your towels and wet clothing. Remember to not use nails in trees as it can harm them.
Learn more tips and tricks on the best way to clean your dishes while camping here!
Packing and Storing Gear: at the end of your trip, it is important to correctly pack and store your gear.
Tents and Shelters
- Brush off your tent and sweep out the inside of your tent before disassembling.
- Dry your tent. Putting it away wet can couse mould to develop. Make sure the tent and fly are dry before disassembling. Hang it from branches or a clothesline off the ground to allow air to dry all surfaces. If you cannot wait for the tent to dry, set it up as soon as you get home to allow for it to dry.
- Follow the folding directions for your tent. The folded tent should be no wider than the tent bag.
Camp Stove:
- Empty refillable fuel canisters into fuel can to prevent build-up on fuel tube.
- Clean your stove with warm water and soap. Tilt stove upside-down to dry.
- Store in a well-sealed container.
- Follow manufacturer’s directions.
Coolers:
- Once you get home, ensure you empty the cooler, drain water, throw out food waste, wash with warm water and soap and let dry with the lid open before storing.
Storing Gear:
- Use large plastic bins with lids to store camping gear. By doing this, everything will be ready to go for your next camping trip.
Partners